 |
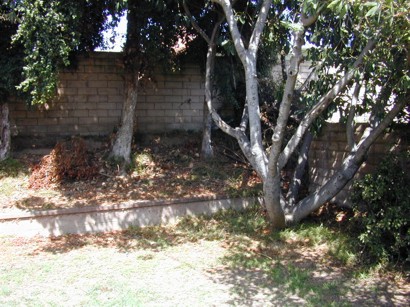
Start of project Oct. 1, 2004. Picture on left is the corner of the yard.
First step is removal of a rubber tree.
This was to be the location of the filters. |
 |
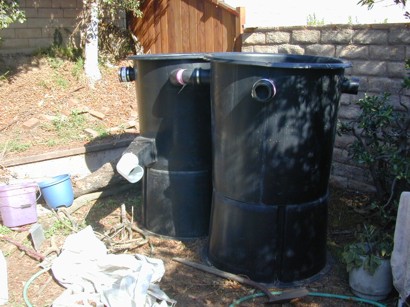 |
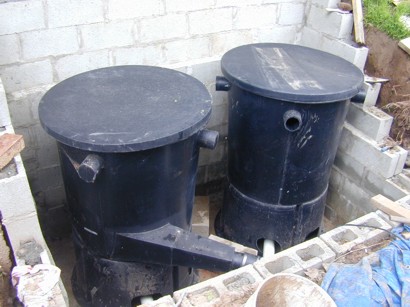
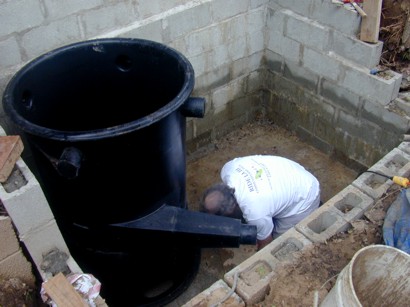
Picture of the Spirex vortex filter tanks. Slow vortex action in tank on left allows particles to settle. Pond water enters in the long horizontal tube.
Tank on right is the biological filter.
Tanks are 40" in diameter and 55" tall.
Picture on right shows tanks in place (much later). |
 |
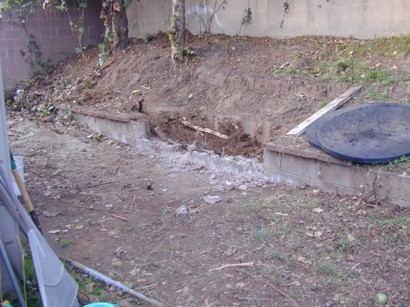 |
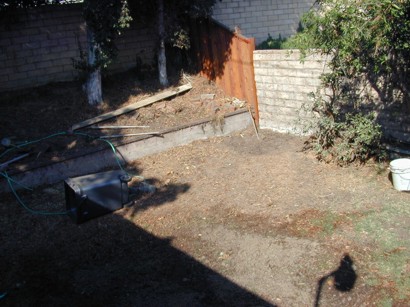
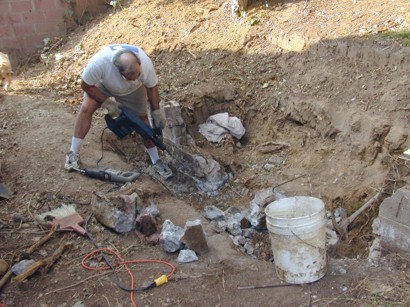
This area is directly behind the house and is for the filters and pump. The yard has a small concrete block retaining wall.
This didn't appear to be a problem but it turned out
to be a lot of work. The digging hardly started yet.
This area is to the left of the pond and will be for the filters.
These pictures were taken November 23, 2004 |
 |
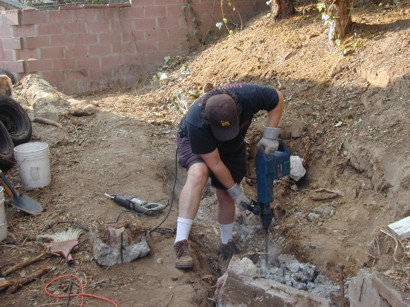 |
Here are the two "contractors". Eric is on the left and Pat is on the right.
The tool is a Bosch Demolition Hammer. It is a real workhorse but it wears us out quickly. |
 |
Digging Hole |
Return to top |
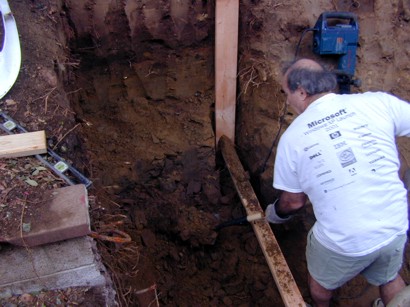 |
The hole is getting deeper and is almost proper depth in this corner.
Still a long way to go.These photos were taken December 7, 2004 |
 |
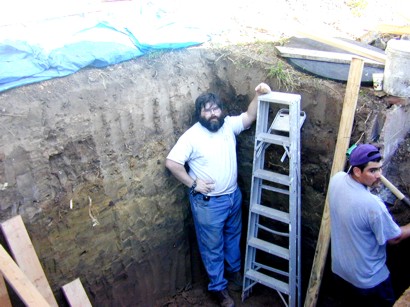 |
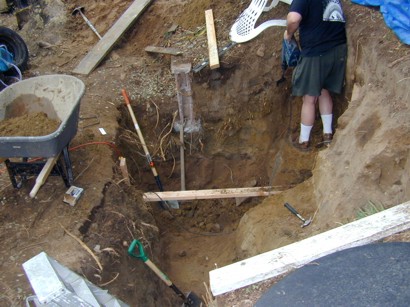
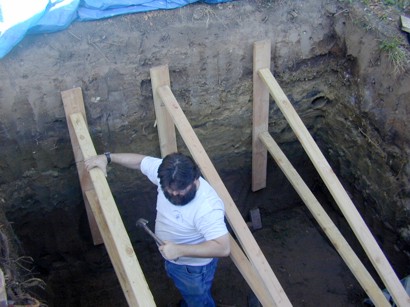
The hole is cleaned out. Eric shows depth in back corner.
On the right shows the temporary bracing to keep walls up.
These photos were taken December 14, 2004 |
 |
Building the walls |
Return to top |
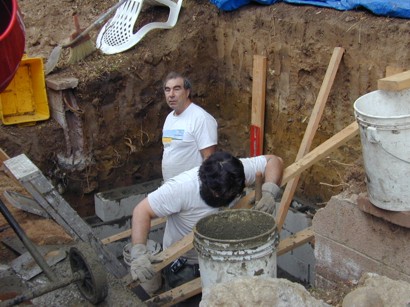 |
Start of the concrete block wall.
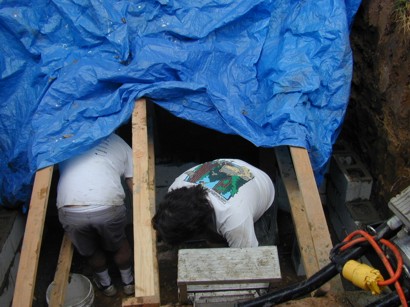
On the right we are getting ready for 4 days of rain. Tarp is to keep back wall dry.
These photos were taken December 26, 2004 |
 |
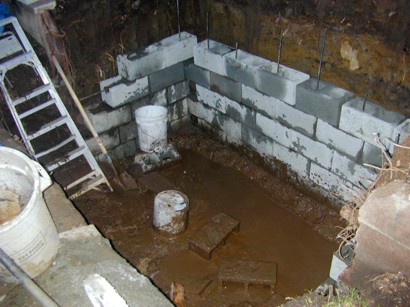 |
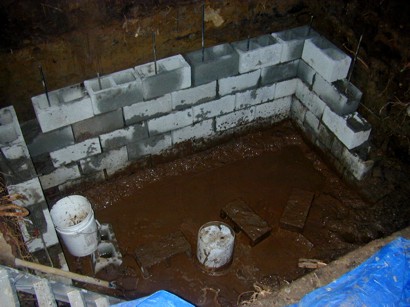
A break in the rain allowed us to add a few more rows on the back wall.
This is a solid (all filled) 8" wall with ½" rebar.
A lot of mud flowed into the hole making work "messy".
These photos were taken Jan 6, 2005 |
 |
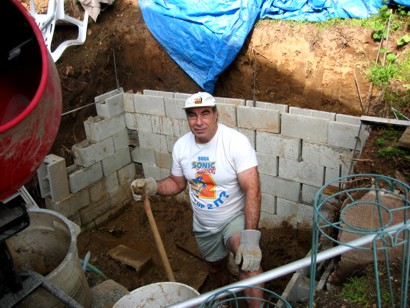 |
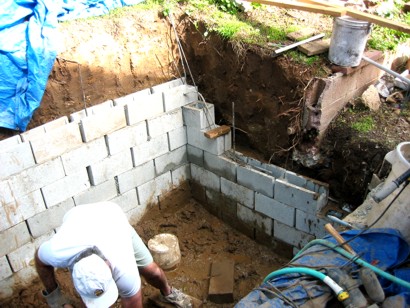
Fourteen days after the heavy rains, a lot of water and mud is still flowing in making it
harder to work.
The walls are taking shape and I feel better about future rains.
Yes, I have been working kinda slowly.
Photos taken Jan 16, 2005 |
 |
Installing the filter tanks |
Return to top |
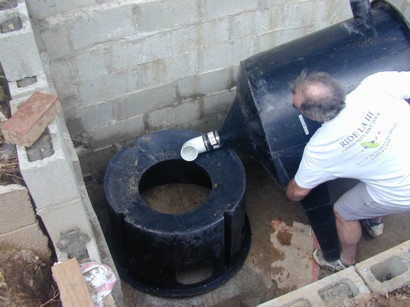 |
Finally got the floor done, walls mostly finished and we are installing the filter tanks.
The left tank will have brushes to settle floating particles. The right tank will have
special bacteria to convert ammonia to nitrites.
The tank bottom is a cone so the tanks sit on an apron.
This project resumtpion started on March 2, 2005 |
 |
 |
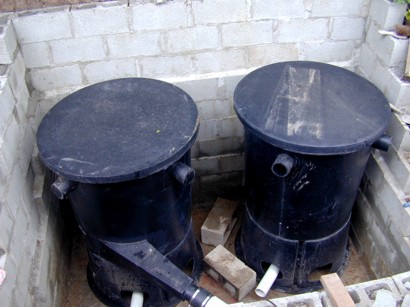
Both tanks in place and drains are connected.
Unfortunately, a leak test showed that the couplings between the tank and PVC leak.
March 2, 2005 |
 |
Starting the main pond |
Return to top |
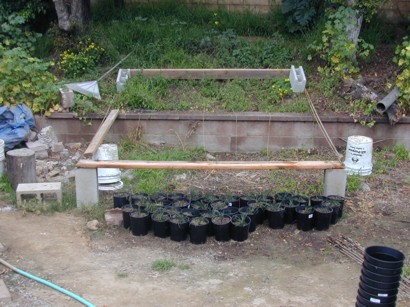 |
Finally starting the main pond. At left is the layout of the pond. Inside size is 8' x 10'
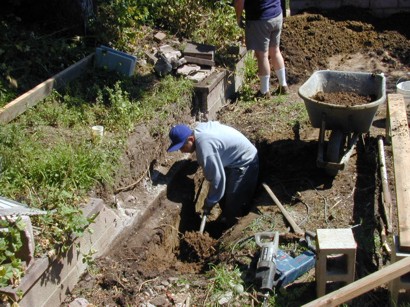
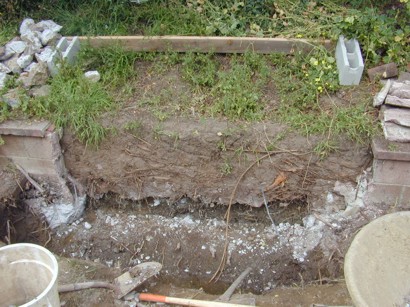
Digging the hole, again removing the retaining wall was a problem but we learned from last time.
Restarted on March 15, 2005 |
 |
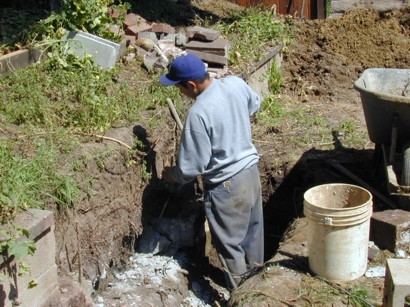 |
Two more pics of the retaining wall. We discovered the water table now is only 2' deep so we are standing in mud again. Hopefully dry weather will lower this to the normal level.
March 15, 2005 |
 |
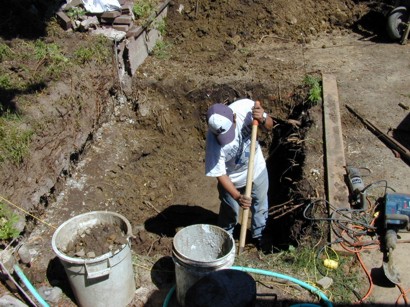 |
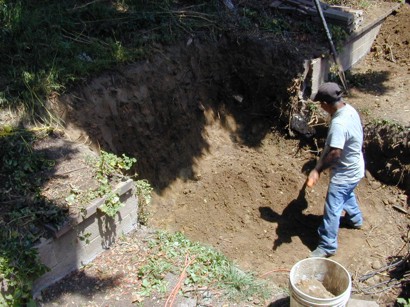
Two more pics of the digging in main pond. Hired a helper for the heavy stuff.
April 19, 2005 |
 |
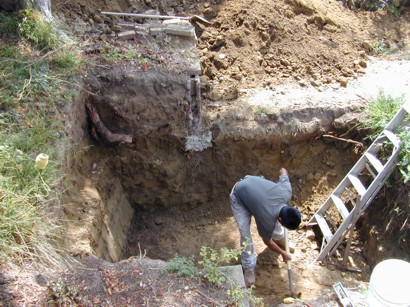 |
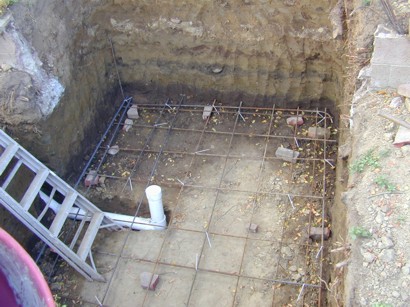
Two more pics of the main pond nearly dug and ready for slab floor.
Right shows center 4" drain and 1/2" rebar in place.
May 17, 2005 |
 |
Building the walls |
Return to top |
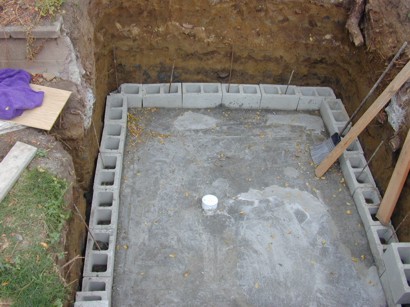 |
Floor is 8" concrete with first row of 8x16x8 blocks set in place.
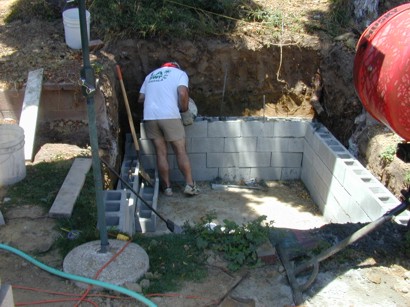
Right shows start of walls. Concrete is poured into every block cell.
May 30, 2005 |
 |
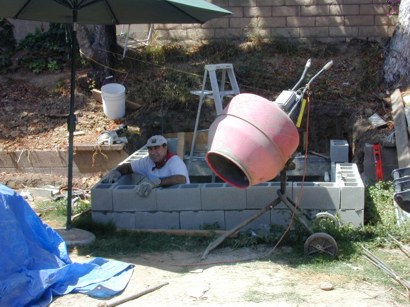 |
Pat standing in hole showing its over 4 feet deep. Wall top is 18 inches above ground.
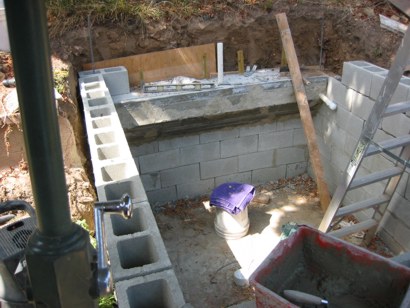
Right shows waterfall shelf in back.
June 27, 2005 |
 |
Waterfall |
Return to top |
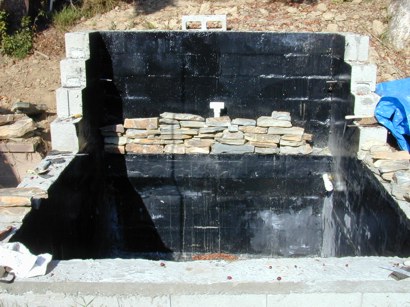 |
Left shows the start of the waterfall. Rocks are stacked on the shelf. Water is pumped from
the filter to the white pipe in back then over the falls.
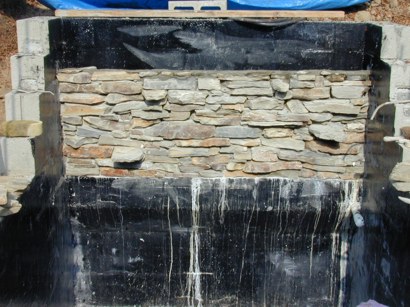
At right shows the completed stone waterfall. It looks great when wet.
It is painted with black epoxy paint for waterproofing.
The white stains are from mortar and will wash up.
Dec. 1, 2005 |
 |
Finished - Stocked with fish |
Return to top |
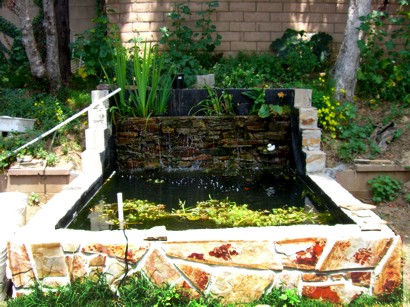 |
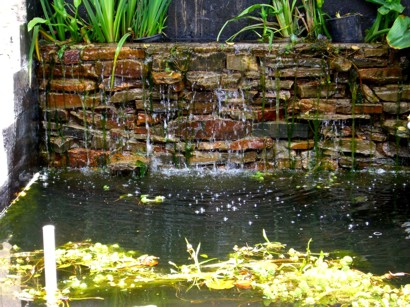
Water added!! These two shots show water and plants - and a few fish.
These photos were taken Apr. 30, 2006. |
 |
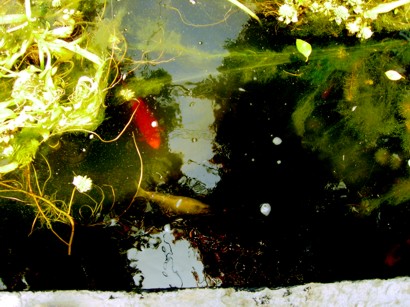 |
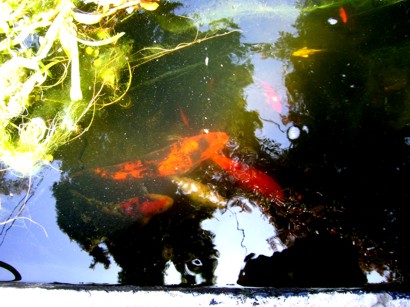
A few fish swimming around. There are about 25 koi and goldfish now.
Apr 30, 2006 |
 |
